This article shows you how to add a product to your store from your mobile phone.
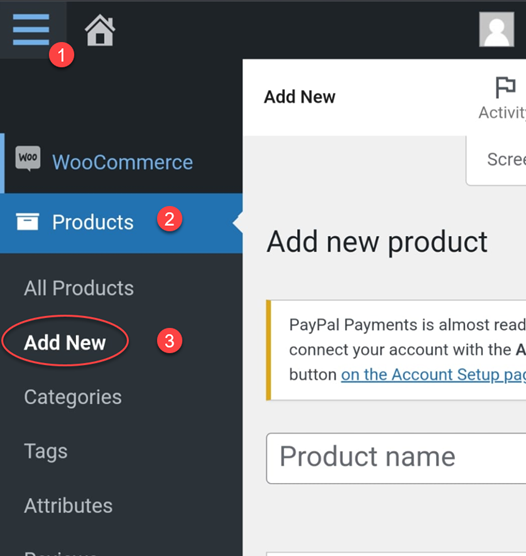
“Add New” Product Section
1. Press the hamburger icon
2. Select “Products”
3. Select “Add New”, you can press the hamburger icon again to close the side menu now
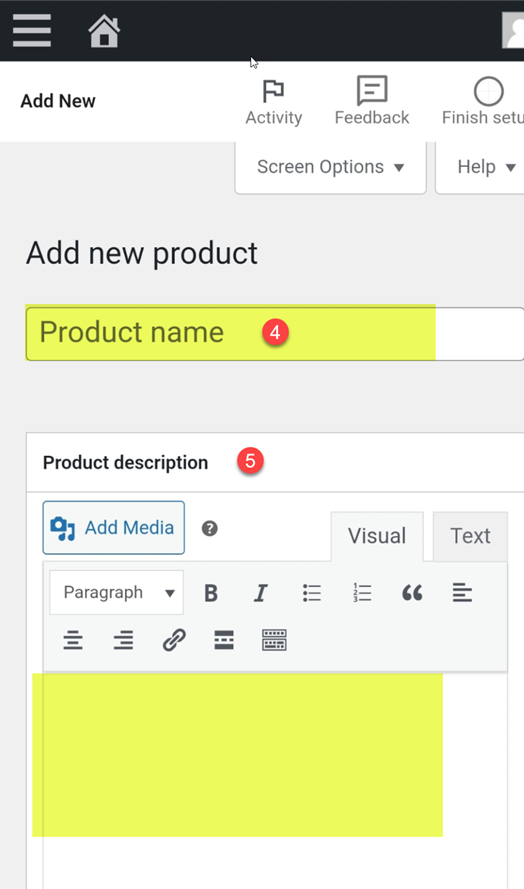
“Product Name” and “Product Description” Sections
4. Enter the product name
5. Enter the product description. This should be a long descriptive paragraph (do not use the “Add Media” button here)
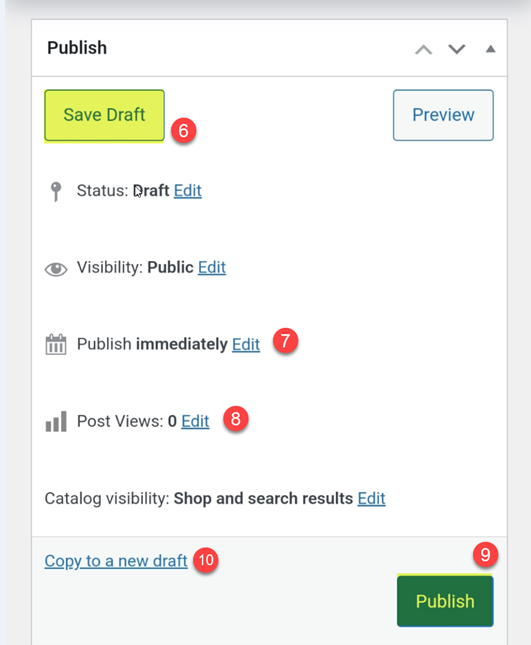
“Publish” Section
This is the section where you make you product “live” and publish it on the internet. You will need to complete the other sections FIRST, then come BACK to this section.
DO NOT PRESS PUBLISH UNTIL YOU HAVE FINISHED THE REST OF THE FORM. YOU HAVE TO COME BACK TO THIS SECTION AT THE END, THEN SAVE DRAFT OR PUBLISH.
6. If you just want to save the product but not make it live yes then hit “Save Draft”.
7. You have the option to publish it, or make it live on a certain date and time. Most times you will not use this.
8. This is where you can see how many views the post has, if you come back to the product page later this number will be going up as more people see the product.
9. When you press Publish, it makes the product available for sale online. It will be publicly visible after pressing this.
10. If you have a similar product you can clone this product to a new draft using this.
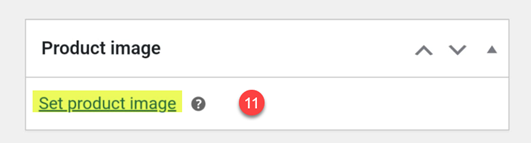
“Product Image” Section
11. This is you main image, this is what they will see when looking at the product before they click on it.
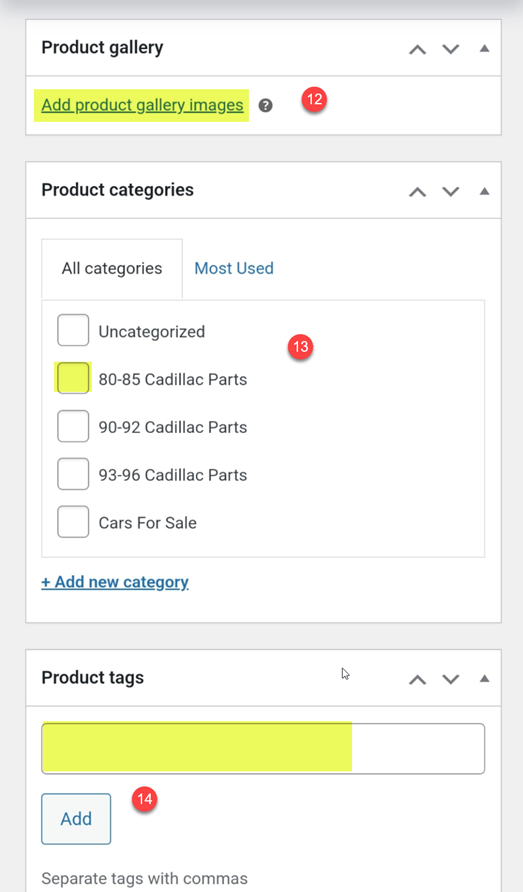
“Product Gallery”, “Product Categories” and “Product Tags” Sections
12. This is the other images for the product, they will only see these on the product page
13. These are the product categories, you can have a product in multiple categories if you want
14. These are the product tags, it helps the search engines. This should be a whole phrase like “Fleetwood passenger window for sale” or “Cadillac emblem for sale”. Think of what people might be searching for on Google. Add in a lot of tags!
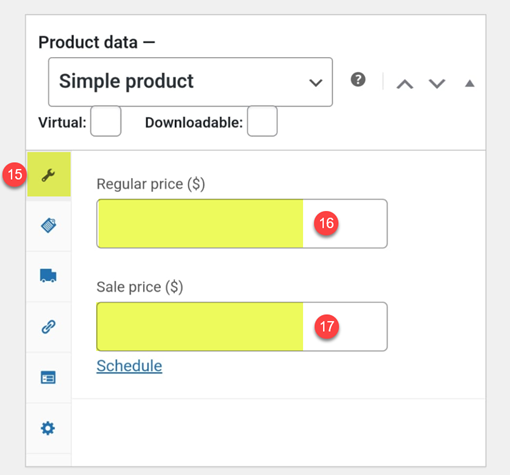
“Product Data” Section
This section has multiple sections. Its important to follow these steps and fill them out
NOTE: If you are including shipping for free or its included with the price. Check the “Virtual” checkbox.
15. The first section is the price section
16. Usually you will just enter a regular price
17. If you enter a Sale price, it MUST be LOWER than the regular price. Customers will see the original price and the new sale price
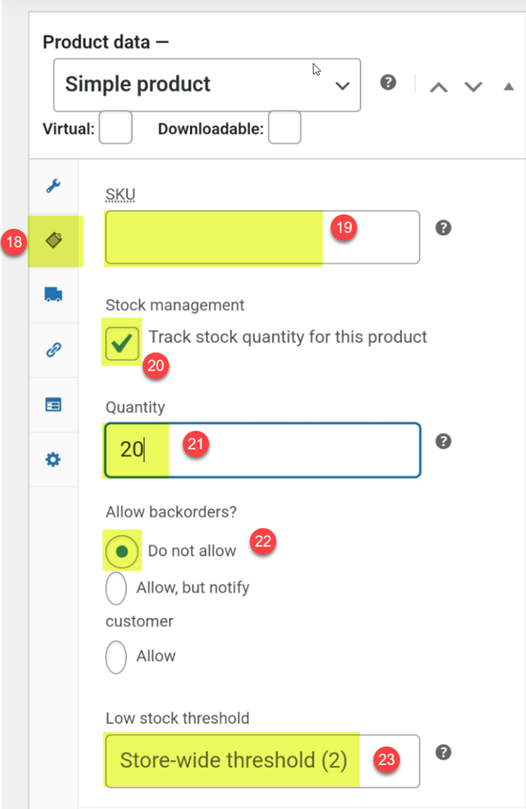
18. This is the stock management section
19. The SKU number is optional, you can leave it blank or enter a SKU, a SKU is like a tracking number for your products.
20. If you check this checkbox then you can keep track of the stock counts
21. This is how many you have in stock, if any get sold then the system will update this automatically.
22. Usually we keep this to “Do not allow”. This is if you want the customer to sign up for backorders. Once its back in stock, they will get an email.
23. This will alert you when stock is low, the default is two.
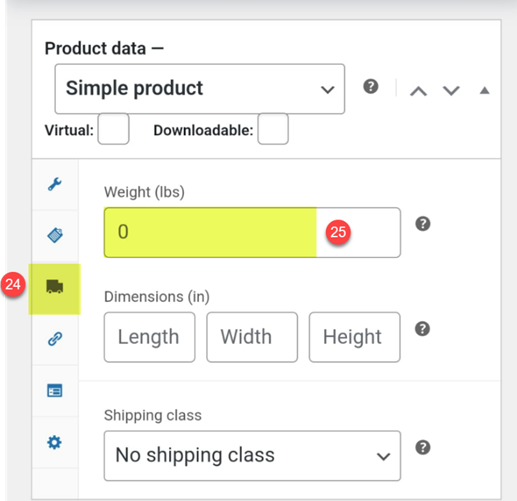
24. This is the shipping section
25. Shipping is calculated by weight. You should experiment with different zip codes and weights to make sure your shipping price is a “worst case scenario”. The dimensions would be good to help your shipping program give you a good quote.
NOTE: If you are including shipping for free or its included with the price. Check the “Virtual” checkbox. This shipping section will not be here if you check “Virtual“
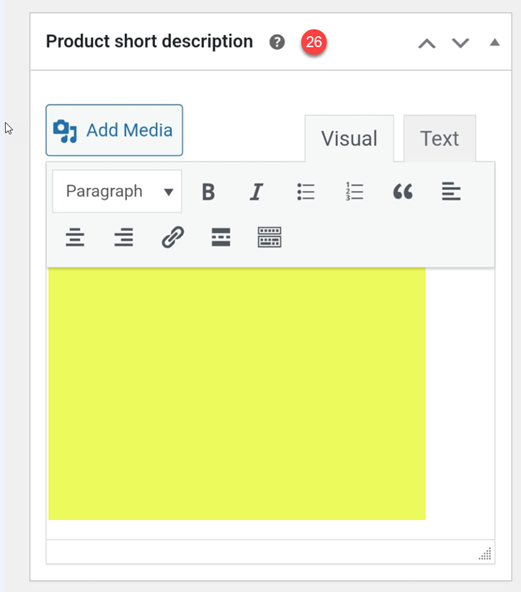
“Product Short Description” Section
26. Enter the short product description. This should be a short summary. Two sentences max! (do not use the “Add Media” button here)
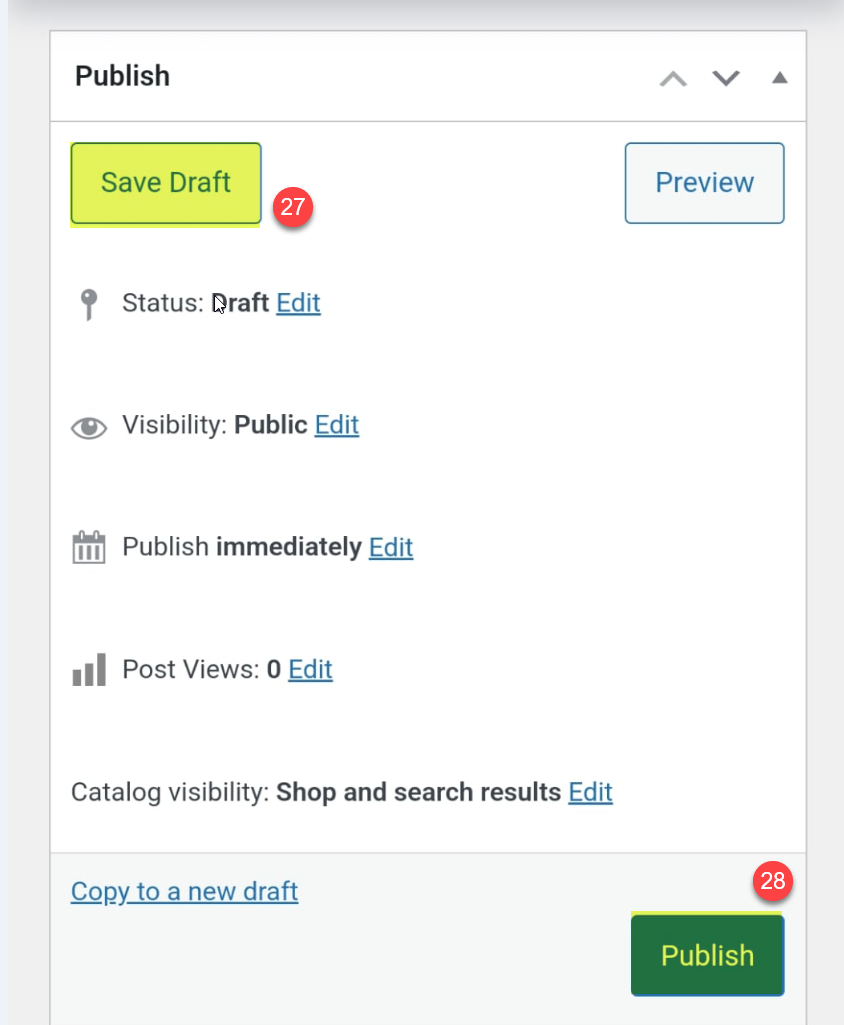
“Publish” Section
Once you are done with everything make sure you go back to the Publish section
27. Save Draft = Just save and do not make it live on the internet
28. Publish = Publish is and make it live on the internet.